On The Line has teamed up with KiteTec for the second of our live build-along projects – the ‘Maverick’.
The Maverick is a dual-line sport design created especially for this build-along. If you build one, don’t forget to show us by posting some pictures on our Facebook Page.
If you have any special requests, please contact josh@kitetec.co.uk and he may be able to assist.
Materials / Tools
In order to complete the build as per the instructions in the videos below, you’ll need the following materials and tools:
-
Materials – available in Build Kits
- Icarex – 2 metres
- Dacron tape – 50 mm x 7 m
- Spinnaker tape – 25 mm x 3 m
- 750D Cordura – 100 mm x 100 mm
- Mylar or Dacron sheet – 250 mm x 150 mm
- Hook & loop tape (Velcro) – 25 mm x 200 mm
- 6 mm wide, double-sided tape (3M ATG tape recommended)
- Polyester thread
- Frame
- Precision setup
- 5x Skyshark P200 rod
- 2x Skyshark 5PT rod
- Trick setup
- 3x Skyshark P200 rod
- 4x Skyshark 5PT rod
- Precision setup
- 2x 100 mm Internal Skyshark Ferrule
- 1x 150 mm Internal Skyshark Ferrule
- Carbon tube – 5 mm OD x 500 mm
- 2x Fibreglass GRP Rod – 3mm OD x 300 mm
- 2x APA Db (hole: 7.5 mm | plug in: 5.5 mm) connector
- 2x TAPA W (hole: 5.5 mm | plug in: 4.6 mm) connector
- 2x APA standoff connector
- 1x Skyshark double ferrule T connector
- 2x Standoff connector – 3 mm
- 2x Rubber end caps – 3 mm
- 8x Rubber end caps – 6 mm
- 2x Nocks – 8 mm
- Bungee Cord – 3 mm x 300 mm
- 1.5 mm / 150 lb Bridle line – 5 metres
- Optional: 15 g tail weight
-
Tools
- Sewing machine
- Ruler (preferably 1 m)
- Soldering iron
- Scissors
- Scalpel
- Pencil
- Coloured markers
Templates & Plans
Panel Templates
- Download the Maverick Panel Template PDF
- Goto File-> Print
- Under the ‘Page Size & Handling’ menu select ‘Poster’
- Set tile scale to 100% and overlap to 0.150″
- Make sure ‘cut marks’ and ‘labels’ are selected
- Set orientation to ‘portrait’
- Ensure pages are printed single-sided, not two sided/duplex
- Print, you should now have 20 pages
- Lay the panels out on a flat surface (preferably one you can cut on)
- Use the numbers on the panels to lay them out and get them in the right order (do not join them yet). You should have the KiteTec logo in the bottom left hand corner facing the right way up
- Remove the right hand side border and bottom border of each page using the cut marks provided
- Re-lay the pages out in the correct order and overlap them so that the kite panels now line up completely
- Join the pages using the tape/adhesive of your choice
- Cut out the individual numbered panels
Frame, Bridle & Dacron Plans
See video part 4 for information on how to use this file to cut Dacron for the two leading edges.
Dacron Leading Edge Plan & Slot Template PDF
See video part 5 for information on how to use this file to tie the bridle. Suggested bridle line is 1.5 mm or 150 lb.
Bridle Plan PDF
See video part 6 for information on how to use this file to sew the nose reinforcement.
…coming soon…
See video part 7 for information on how to use this file to frame the kite.
Framing Plan PDF
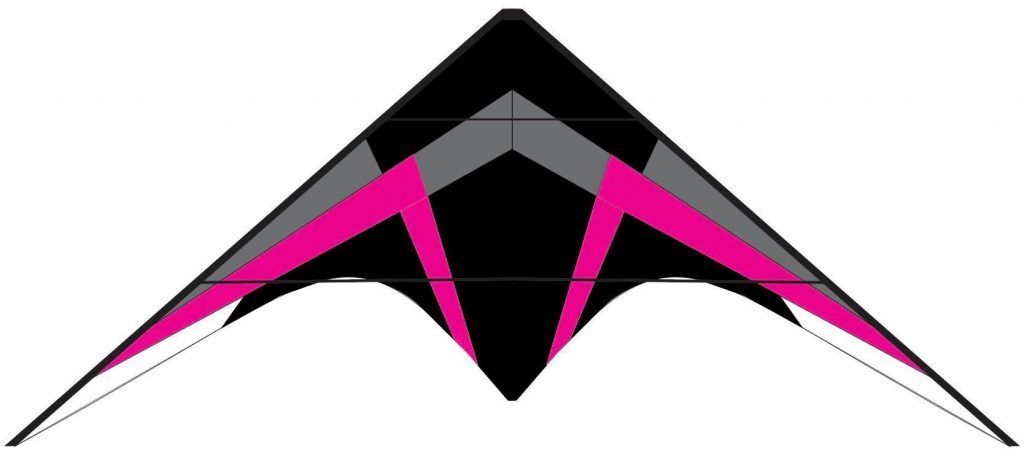
Plan Your Colours
Use the colouriser below to plan your colour scheme.
Selected: Black #000000
Videos
The live-build series took place over a number of weeks. Below are the videos from those sessions, along with what was covered in each session:
Part 1
- Required equipment – LINK
- Printing template sheets – LINK
- Assembling template sheets – LINK
- Cutting panel templates – LINK
Part 2
Part 3
- Required tools/materials – LINK
- Sewing machine setup – LINK
- Sewing the main panels – LINK
- Cutting Dacron/Mylar standoff reinforcements – LINK
- Sticking Dacron/Mylar standoff reinforcements to the sail- LINK
- Sewing Dacron/Mylar standoff reinforcements – LINK
Part 4
- ..
Part 5
(Please note that while the main content of this session is unaffected, the last 10 minutes of the live stream was cut off erroneously by YouTube during the Q&A session at the end. If needed, the full version can be found on Facebook – LINK)
Part 6
- ..
Part 7
- ..
Build Kits
Build Kit (No Icarex) – £89.67
All of the fittings, frame and extra pieces you will need to create the Maverick but without any Icarex.
Out of stock.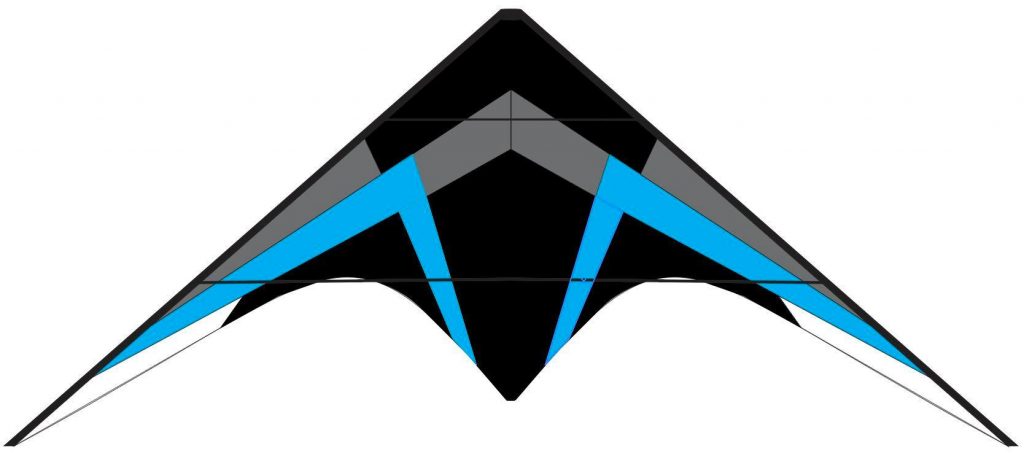
Build Kit (With Icarex) – £131.88
All of the fittings, frame and extra pieces you will need to create the Maverick plus 2 metres of Icarex. Please remember to choose your colour option.
Out of stock.